Pages

Showing posts with label Acrylics. Show all posts

Wednesday, January 18, 2017

Gloria J Zucaro's "CJS 2017 Project with Rachel Greig"


Today we had Rachel Greig as our CJS 2017 project leader. Rachel made a two part journal spread combining ink stamping, stenciling, collage, stitching and embellishments. My journal pages are below.  This week is also about quotes inspiring us.

My quote is "Be a rainbow in someone else's cloud."

I would love it if you could leave a comment.  Thank you~Gloria

Tuesday, January 26, 2016

Picasso via Nathalie Kalbach on Defragmented Explorations

That is a long title!  Basically in Nathalie's demo she explained a very interesting concept. You pull out 4 or 5 small objects with nice shapes and draw them onto your surface with pencil. You draw their backs, their fronts, their bottoms, their tops, their sides!  You start with one object, drawing it from one viewpoint and then as you draw the others you fill up the entire surface. This is my version, using some objects I had lying around. A soft bodied paint bottle, a small pair of scissors, a 2" paint brush, a pencil sharpener and a scotch tape dispenser. Her final project looked more cubist because she shaded her objects. But I had fun and learned a lot while doing it. 
I used oil pastels and Neocolor watersoluble pastels and a Sharpie oil marker for outlining. Oh, I used some Derwent Inktense pencils and Liquitex paint markers, too.
Cubist Project

In the beginning

Have a nice night,
See you tomorrow I hope. :>)

Gloria


Saturday, October 18, 2014

Gloria J Zucaro's "Collage on Three"

This week flew by again.  I spent my time planting perennials for next year, and watching the birds and small mammals in my yard.  A very relaxing week.

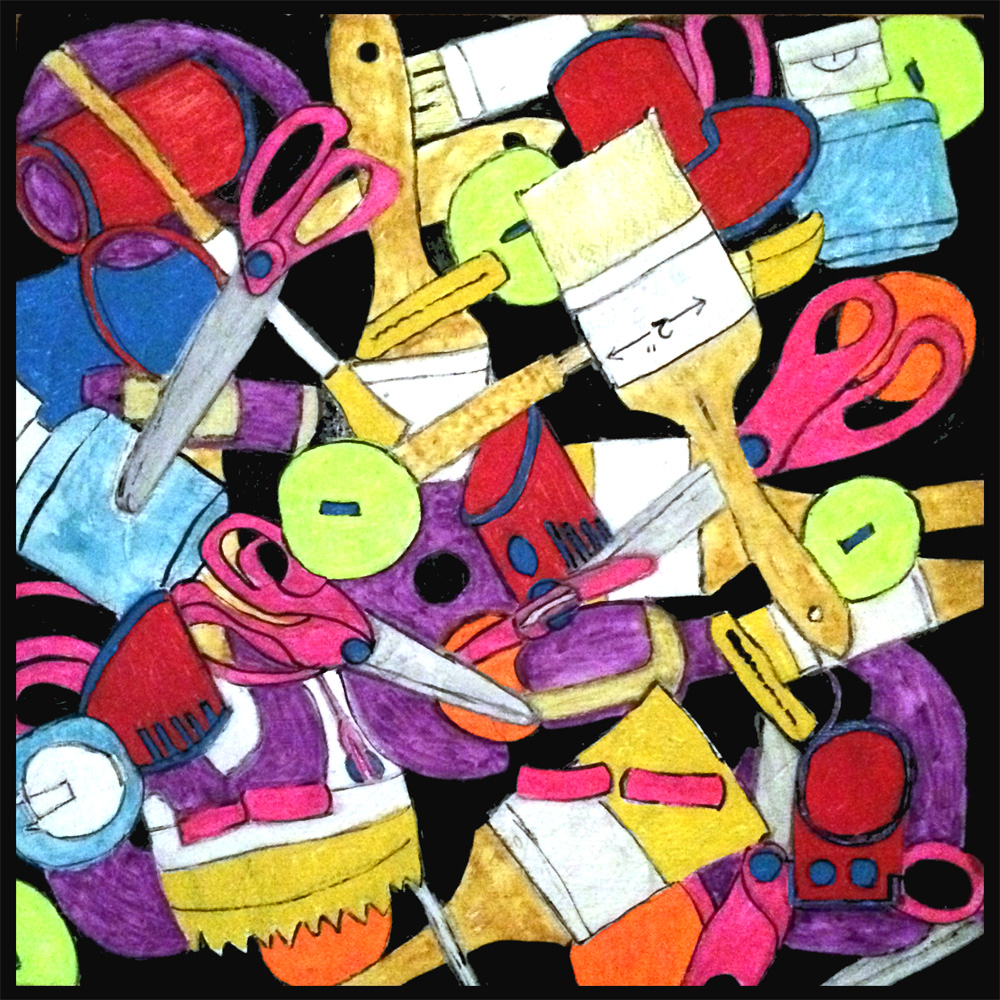
I wanted to show you some of the collage pieces done in Karen Sako's collage class.  We used Masonite boards covered with gesso, either regular white or clear.  Other supplies were magazine pages, sandpaper, baby wipes, saran wrap, crackle paste, gesso with sand added, pastels, India ink and my favorite, strips of paper applied with gel medium, and then sealed.
The Beginnings

Gesso with impressed sand, torn paper, acrylic paint, sealer

Gesso, crackle paste,torn paper, gel medium, acrylic paint, sealer.

Gesso, saran, gesso with sand, tool to add lines, acrylic paint, sealer
I am posting this to Paint Party Friday, Twitter, Pinterest and Facebook.

Have a wonderful week.
Gloria


Thursday, July 25, 2013

Gloria J Zucaro's "Oops Day"

Hello!  I attended a pot-luck luncheon with a group of artists friends yesterday and forgot about posting when I got home.  At our get-together in Huntley, IL every July at Sandy's house, we not only bring a salad or dessert to pass, but we bring show & tell of some things we have been working on.  Many times we also do a project.  This year Sandy had us bring some supplies and we all did some "Pourings"  It was fun and different.  She learned to do it with enamel paint for automobiles.  But we used acrylics.  I think the oil based paints are more of a surprise because they continue to "move" until they dry and you get much different results than what you started with.  We all had a couple of canvas boards or stretched canvases.  We poured some acrylic paint into small disposable cups and added enough water to make them pourable but not too runny.  We each had a large aluminum pan to do this over out on Sandy's patio.  After we were done we washed out her aluminum trays and put our mostly dry paintings into our own aluminum trays to carry our work home. 

Here are my two poured paintings, and the first project from The Clearing.

                        
This was done on an 8" square canvas board.  The blue on a 3/4" gallery wrapped canvas 10" x 8"


Below is our warm-up painting at The Clearing.  Easy figures in a group.  Start by making different lengths and widths of color next to each other with a flat brush or in my case the end of a square soft pastel.  Have the bottom end tapering off.  Turn the paper upside down and add sort of "V" shapes to the "tails" of color and add a dot to every flat end of the original strokes.  Turn right side up and add a "shadow" of color under the group.  You are done!  Easy Peasey people!  You can make them more elaborate by adding hats, or brief cases with arms, balloons, etc.                        Have a great day! :>)  Gloria
Don't forget to stop by Paint Party Friday tomorrow, it is so inspiring!