Pages

Showing posts with label Stencils. Show all posts

Wednesday, January 15, 2020

Sketch for Creative Jumpstart 2020 Floral

Yesterday I finally decided how to do the January 11 project led by Marlene Meijer-Van Niekerk,  She did a demo of a beautiful floral, which I couldn't totally do with the supplies I have. So I am making my own version.  I have some small cling-free stamps of flowers and butterflies. I stamped those onto one of the last pages of my "Sketchbook Project" sketchbook, and hope to soon send it in.  Then I drew in pen my version as a "shadow" of the stenciled version. So right now it is in black and white tones. I plan to color the pen drawings and leave the stencils uncolored. Well, that is the current plan!  We will see how it all turns out.


Here it is, finished!


have a nice day, 
Gloria

Saturday, January 11, 2020

January 7 Project with CJS 2020

January 7th's project is with Birgit Koopsen. Her SUPER POWER is Mixed Media Gelli Prints.  I was trying to do my first one and made a lot of mistakes!

I made the mistake of going back and forth watching the video and then going to do my gelli painting. So the paint was dry by the time I got the paper to print on.  

But not to get defeated I tried spraying cardstock with water and letting it be damp, with the Gelli resting on it.  That didn’t work.

Next I remembered that if you cover the surface with clear shipping tape, the kind that is about 2 inches wide, it totally cleans off your gelli plate. So I got some dry computer paper and I covered the surface of the gelli completely with tape. Then I carefully lifted the tape off and applied it in one piece to the clean dry paper. It worked! I have a tape print! My painting composition is too equally divided, but next time I will know how to do this and be more asymmetrical and interesting. What a neat technique! 


7" x 5"

January 5th and 6th #CJS 2020 Projects

Hello Paint Party Artists...

January 5th on Creative Jumpstart 2020(CJS 2020) was taught by Tina Walker whose Super Power is "Making Mini Books". I had to watch it several times to figure it out! She was a very good instructor but I needed to rewatch to get all the steps in!
It was really fun to do. This is my original version. The book is 2.75" tall by 2.50" wide.

Click on images to enlarge.


The Front


Side View From Above


A View of Two Inside Pages

January 6th with Nathalie Kalbachs' Creative Jump Start 2020(CJS2020) was led by Iris Fritschi-Cussens. Her SUPER POWER is called "Into the Shadow". It is about journaling and really expressing how you are feeling, using your journal as you would a diary for your eyes only! I loved all the layering in the background.


The first two pages done in my new gifted sketchbook from my friend Polly D.!  
Thank you, Polly!

Thursday, March 16, 2017

Gloria J Zucaro's "Moving Forward with Mixed Media"

Sunday March 12, I enjoyed another mixed media workshop with Karen Sako at Mainstreet Art Center in Lake Zurich, IL .

Each table had a pod of people(either 3 or 4) and supplies to share for the pod. Each pod was given a limited palette to work with. Our table got lime green, and turquoise blue as well as black and white. ’

The first thing we all did was apply gesso to a piece of watercolor paper that was 12 x 6, a smaller 6 x 6 piece and a piece of illustration board that was 9 x 12. Those three pieces would be the basis for our three finished projects so they had to have time to dry while we were making more papers.

Next was to do 3 minute drawings(paintings with our colors and India Ink). We did two large, about 20 x 24 in size and one smaller about 9 x 12.  

Another fun project was using long wooden dowels with leaves, strings and rubber bands attached to the ends. Each stick had a different thing attached. We got three more pieces of paper and a plate of very liquid paint to dip into and scribble around on our papers.  Every couple of minutes we had to pass our stick to the person on the left so that we could try out each type of texture on our papers. 

After all the prep we began to assemble our pieces by ripping our papers up and gluing them on our three gessoed papers.  We could add acrylic paint, pastel pencils, pastel sticks, ink, and pan pastels.  There were stencils to use and we tried some transfers.  

It was a great day!  Here are my three original finished projects after I added some marks and lines when I got home and everything had dried.

Happy Paint Party Friday, and have a great week.


Friday, March 10, 2017

Gloria J Zucaro's "UnderPear"

First of all "Happy 6th Anniversary/Birthday" to Eva & Kristins' PAINT PARTY FRIDAY site that gives many artists a place to show their artwork each week.
I always enjoy and get inspired by what my artist friends from around the world are doing. Not only do they share their artwork, but many show photos from their area of the world, offer advice on supplies and techniques and viewpoints on various topics of world interest.

A couple of weeks ago I showed you the beginnings of a mixed media project.  I got it finished this week.  I finished the background with various stencils, stamps, Neocolor Crayons, Marks All pencil, Posca Pens, collage and acrylic paint.  Now the decision was between covering most of the background and allowing it to show through in one area, or leaving the background mostly exposed and covering an area to give the eye a resting place.  Since I had tried the first option previously I decided to leave most of the background showing this time.


Here is the finished project.  The original WIP is below it.  I am calling this "UnderPear" a play on Underwear!

Here is the WIP photo shown two weeks ago


Have a wonderful week of celebration Kristin and Eva and thanks for another year of Paint Party Friday!
I would love to hear your comments.
~gloria

Friday, February 17, 2017

Gloria J Zucaro's " Trying Some Intuitive Abstract"

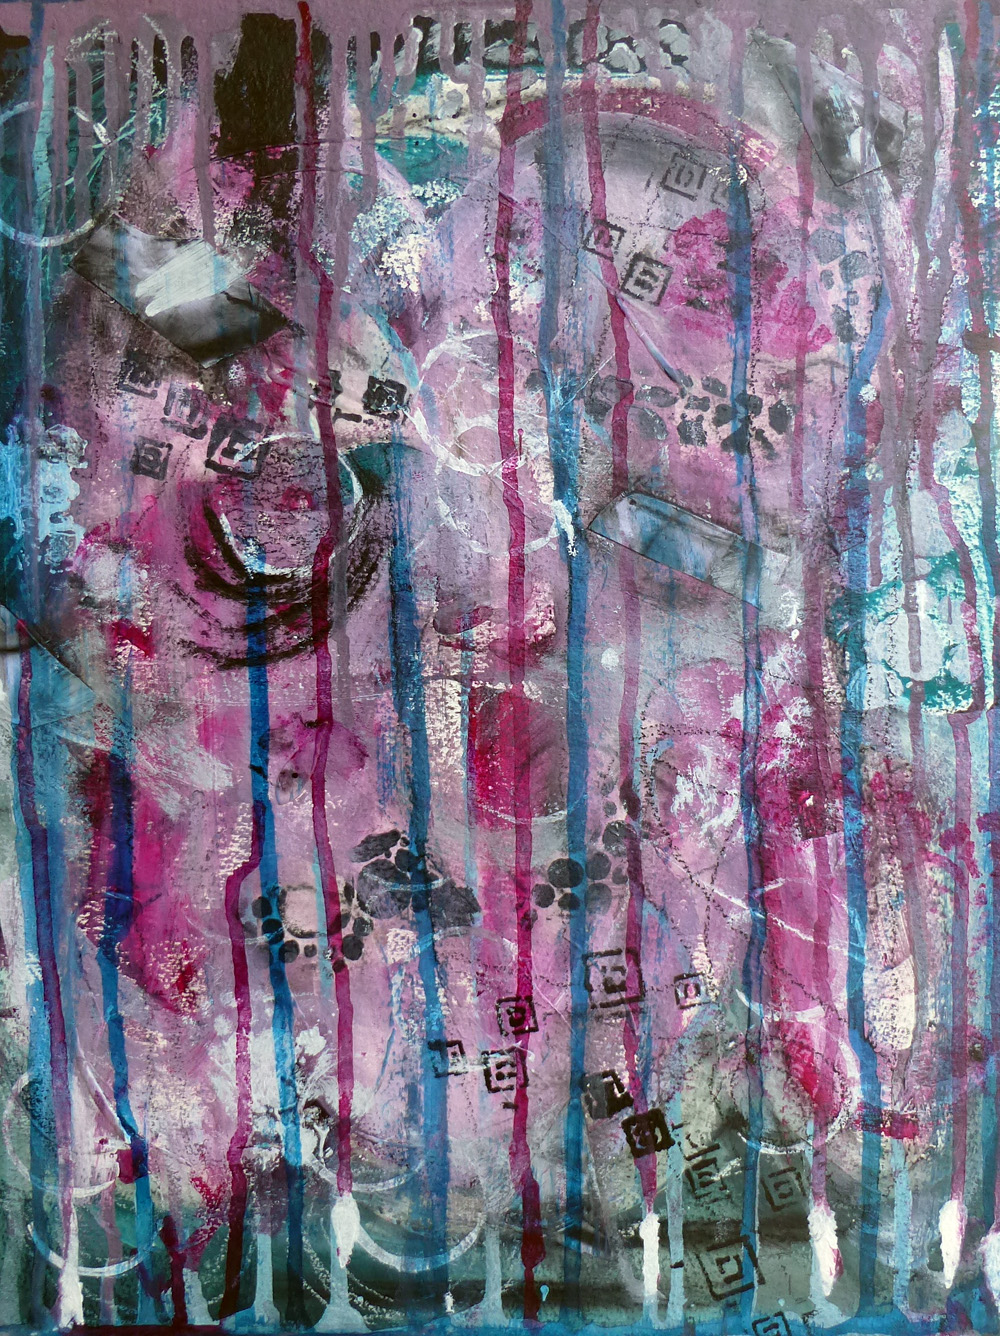
This week I switched gears like I often do and have a work in process. I used black and white acrylic paint and a couple of colorful inks. I did some stamping and small pieces of collage. I don't like it yet. Too busy and too colorful all over. I plan on adding some black and white text pieces, some more stenciling and stamping and some gesso cover-up. Then I hope to see areas that really appeal to me to make into my focal points.  I did have fun so far though!  I am linking to Paint Party Friday.
Have a peek at that site and have a good week.
Oh yes, I have a question and would appreciate your help.
I now have some beautiful stamps from Nathalie Kalbach and from Darkroom Door.  I don't seem to understand how to use them!  I never get a good imprint with all the details.  I don't know if my inks are not good, or should I roll on some paint?  What is the best way to proceed?  Thanks so much!

Wednesday, January 18, 2017

Gloria J Zucaro's "CJS 2017 Project with Rachel Greig"


Today we had Rachel Greig as our CJS 2017 project leader. Rachel made a two part journal spread combining ink stamping, stenciling, collage, stitching and embellishments. My journal pages are below.  This week is also about quotes inspiring us.

My quote is "Be a rainbow in someone else's cloud."

I would love it if you could leave a comment.  Thank you~Gloria

Tuesday, January 17, 2017

Gloria J Zucaro "Putting on Layers with Rae Missigman"

Today I got to make a colorful relaxing mix of paint, watercolor crayons and pencils, ink, glue, collage and a quote.  The quotation addition is our theme for this week on CJS 2017, about how we are inspired by quotes or if we have favorite quotations.  Or project leader today for our CJS17 project was Rae Missigman who can be found at http://rae-missigman.squarespace.com/

My quotation-"The purest and most thoughtful minds are those which love color the most" by John Ruskin  That's my excuse and I'm sticking to it!


Saturday, January 7, 2017

Gloria J Zucaro's "Fifth Project with Jimmy Leslie"

Today's video was about all the different ways to use our acrylic mediums and paints.  Jimmy Leslie also suggested using supplies that are lying around the house and yard for applying our mediums or for adding 3-D elements to our collage work.  So I used the mediums I had to do to my two pieces.  I tried making skins with my acrylic paints plus Airbrush Flow Medium.  It takes practice!  How to spread the paint on a surface, how thick if you want transparency, and how to remove it in more than a zillion small pieces when it dries!  I had thought to make fairly large pieces so that I could cut it into strips to weave together, thereby changing the colors.  For example, Jimmy showed a hanging piece that had the three primaries of red, yellow, blue.  When they were woven together the yellow and blue made green, etc. But alas!  My paint was applied to thinly, and totally shredded when I tried to remove it from the palette.  I decided to glue it onto a clear plastic card cover.  I did overlap some shreds and for at night when there is not window light behind it, I added some opaque paint in drips, and dashes here and there.
  

Examples of skins using either Credit card, knife or brayer to apply to palette paper.
On the window, you can see through the lighter colors


Flat on the table to see how it will look at night on the window


For my other part of this project, I painted over an old painting with 2 coats of Black Gesso.  Then I used my Flexible Modeling Paste to Stencil some large snowflakes along the top edge.  I added a Stencil of a bird using Ceramic Stucco and a dried twig.  I used Heavy Gel Medium to cement down the twig.  Then I had to let everything dry.  Next I added some Handmade collage paper along the bottom edge.  I used SILKS paints to color the stucco on the bird and splattered with white Fluid Acrylic paint.  I wondered about adding more, or changing the bird to look more like a Cardinal, but decided I liked it as it is.


Now on to the next CJS 2017 Project!


Friday, November 11, 2016

Gloria J Zucaro's "Going Up"

Good Morning!  It has been forever since I have posted.  I got overwhelmed by family changes, construction, illness and death.  In other words..."LIFE!"  All is more sane now, so I have posted to the site called Paint My Photo where you can find all sorts of free photographs to use in your artwork.
I used one of the photographers photos for my abstract acrylic collage piece called "Going Up?"  I was thinking of old time elevators where an attendant was the one in control of the workings of the elevator in fancy hotels and residences.
I will be posting to Paint Party Friday, Facebook, Twitter, Pinterest.   I took Joan Fullerton workshop last weekend and assembled my piece during her class.  What fun! Have a wonderful week,
                                                                 Gloria
140 lb. watercolor paper, acrylic high flo paint,stencils,gesso,Gelli plate papers, old text, photo transfer of suspension bridge(https://pmp-art.com/nicola-b/gallery/115775/humber-bridge)

Monday, January 11, 2016

Gloria J Zucaro's "Paula, Basquiat and Me"

Our mixed-media artist instructor with Creative Jumpstart 2016 led by Nathalie Kalbach for January 10 was Paula Phillips. She showed different methods of layering.  The one I had never tried before was to layer several colors, and put in words or areas with a white oil pastel. Cover that with a thin layer of acrylic paint.  Then use your heat gun or hair dryer to melt the oil pastel layer.  Wipe away with a baby wipe and you will see the first layers underneath.  So cool.

Paula had a "stack of books" stencil which I did not have, so I looked through my stash to see what I had that I might use.  I found a couple of text stamps, and a Tiki mask stamp.  The Tiki mask stamp just had that Basquiat "feel" to me, so I stamped it in several places and then used the design as my focal point. Basquiat also sometimes used large hands in his paintings. They reminded me of Mickey Mouse glove hands, so I added those to my stick figure body. The final and steps are below. I used acrylic paints, Sharpie markers, Golden Gesso and some stamps with a Ranger ink pad. I also drew in words, crowns and scribbles with a Scripto ink pen # 08.


text and bits of magazines, stenciled on paint, matte medium


more paint pressed on with paper towel


stamping


add oil pastel words(tomorrow, ok) and Tiki basic lines for head, add acrylic paint layer, melt off oil pastel to see underneath.
outline Tiki head and the word "tomorrow" in marker


go over page with gesso, wipe some off


Add body, hands and text.  Outline with black and white, fill in some areas with red and black marker.

Saturday, March 21, 2015

Gloria J. Zucaro's "Wonderful Swap From Carmen Jones"

Today I would like to show you the wonderful hand painted greeting cards I received from my February Swap Partner from Community Thrive. Carmen Jones lives in Bermuda and really outdid herself making these gorgeous cards! 
Carmen's theme choice was "Bold" and using a brayer and stencils then over-painting figures or adding 3-dimensional flowers onto the stenciled backgrounds. So well done! Thank you Carmen, I love them.


During this last week I did some small changes to a pastel I had done earlier. I changed the rather larger leaf that was in front of the apples and added more variation of color to the leaves and apples.
I am happier with it now, but not sure if it is done.


I am linking this to Community Thrive and Paint Party Friday

Wednesday, December 7, 2011

Gloria J Zucaro's "Merry Christmas ATC's"

Tonight I am sharing my first set of Christmas ATC's for a trade party on Saturday.  I had a lot of fun making these cards.  I used advice from Mary C Nasser's blog post on Oct. 09 when she gave her steps for making her deck of cards for the Inspiration Card Swap hosted by Jessica Brogan.  Starting out with a deck of cards, I glued them to a map.  Then sanded the front of the cards & gessoed & painted the fronts red with Silks Acrylic Glaze and the backs green with the same paint.  I then stenciled the green backs with a second green and outlined the stencils with either red or gold pen.  On the front red side I placed vintage looking stickers or some stocking stickers.  I added torn tissue paper that I had mixed up with gloss medium.  Then coating the tissue with a dark rose Silk paint.  The entire surface was covered with medium and sprinkled with gold beads onto the raised tissue areas.  I stamped on the Doves & Merry Christmas  and added the dimensional snow flakes or Christmas Trees.  The only thing left to do is to add my name and blog information to the back.  I only made a dozen Christmas ATCs, so will use the other cards that are glued to the map and already gessoed for next months trade.   I plan on sending a couple of the cards to blog friends who have been so helpful and generous to me and am looking forward to finding out what our prompt will be for January.  

Our group is hosted by Kimberly Butts who is an avid follower of ATCS FOR ALL and helps organize & attends their convention.  Kimberley's special cards are made of sheet metal in which she presses a design, or her wonderful felted birds.

This is my Paint Party Friday entry for this week.  Please go to the party and visit some of the many artist's sites to see what they have been creating this week.